- Set SAML_DATABASE_URL to a Postgres database. Please use a different database than the main Cal instance since the migrations are separate for this database. For example
postgresql://postgres:@localhost:5450/cal-saml. If you are using a self-signed certificate for Postgres then use thesslmode=no-verifyquery param in the database URL. For examplepostgresql://postgres:@localhost:5450/cal-saml?sslmode=no-verify. - Set SAML_ADMINS to a comma separated list of admin emails who can configure the OIDC.
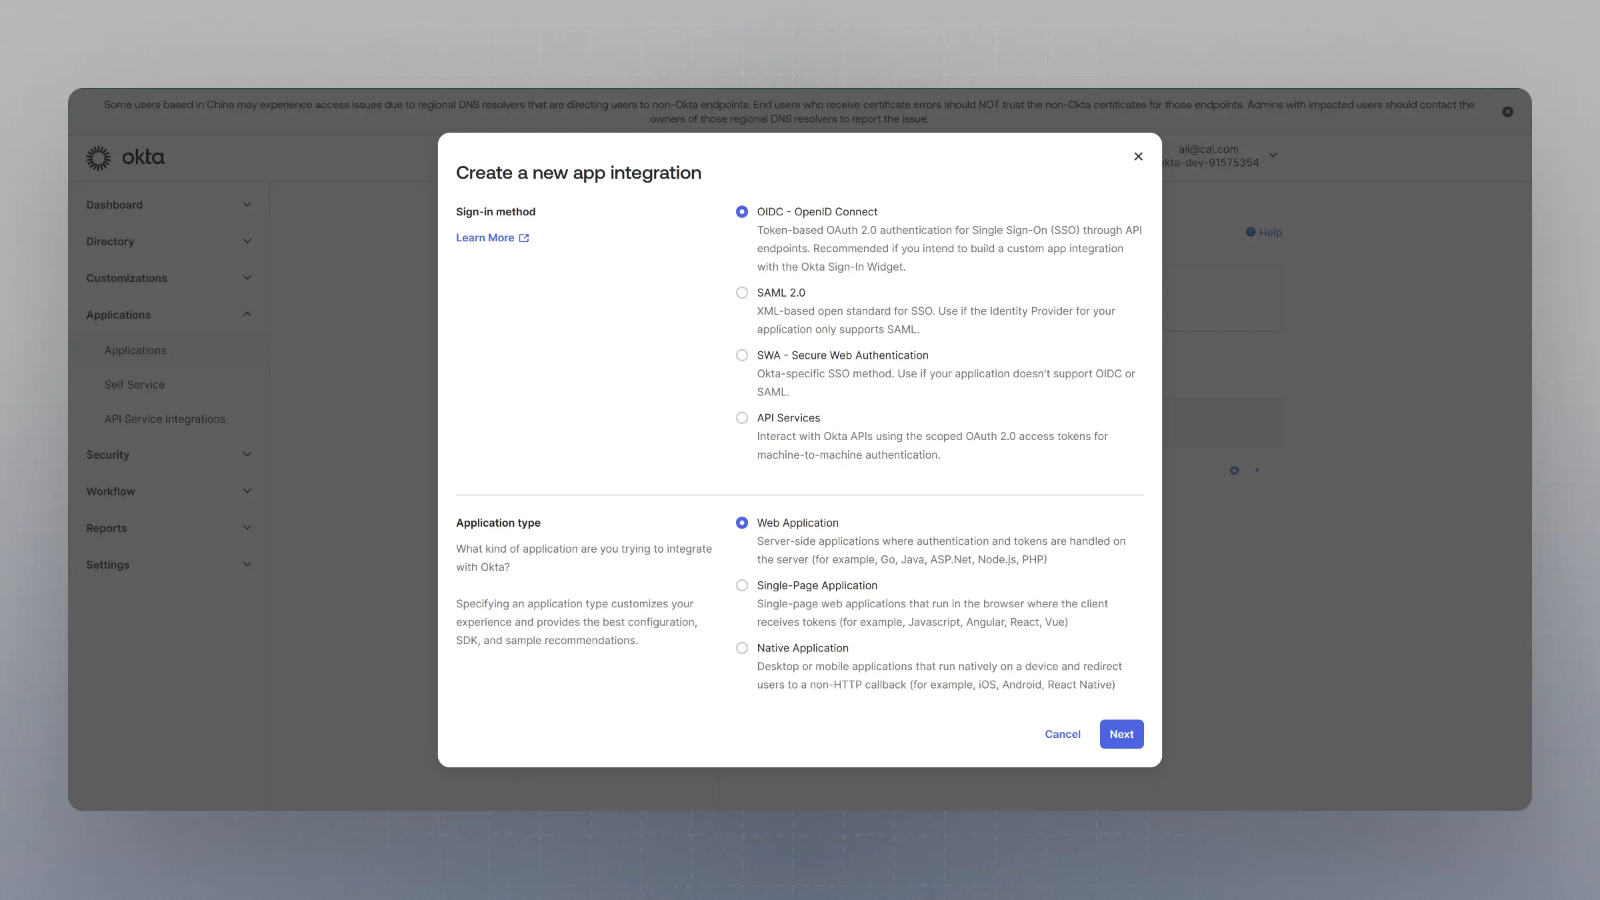
- Create an application with your OIDC provider. For example, in Okta, once you create an account, you can click on Applications on the sidebar menu:

- Click on
Create App Integration
- Select SAML or OIDC in the modal form, along with Web App and click Next.
- Note you will have to fill in the appropriate fields for the SAML or OIDC setup to continue.
- SAML Setup
- OIDC Setup

- Once the application is created, under General -> App Settings, click "Edit" and click the checkbox "Enable SCIM provisioning "

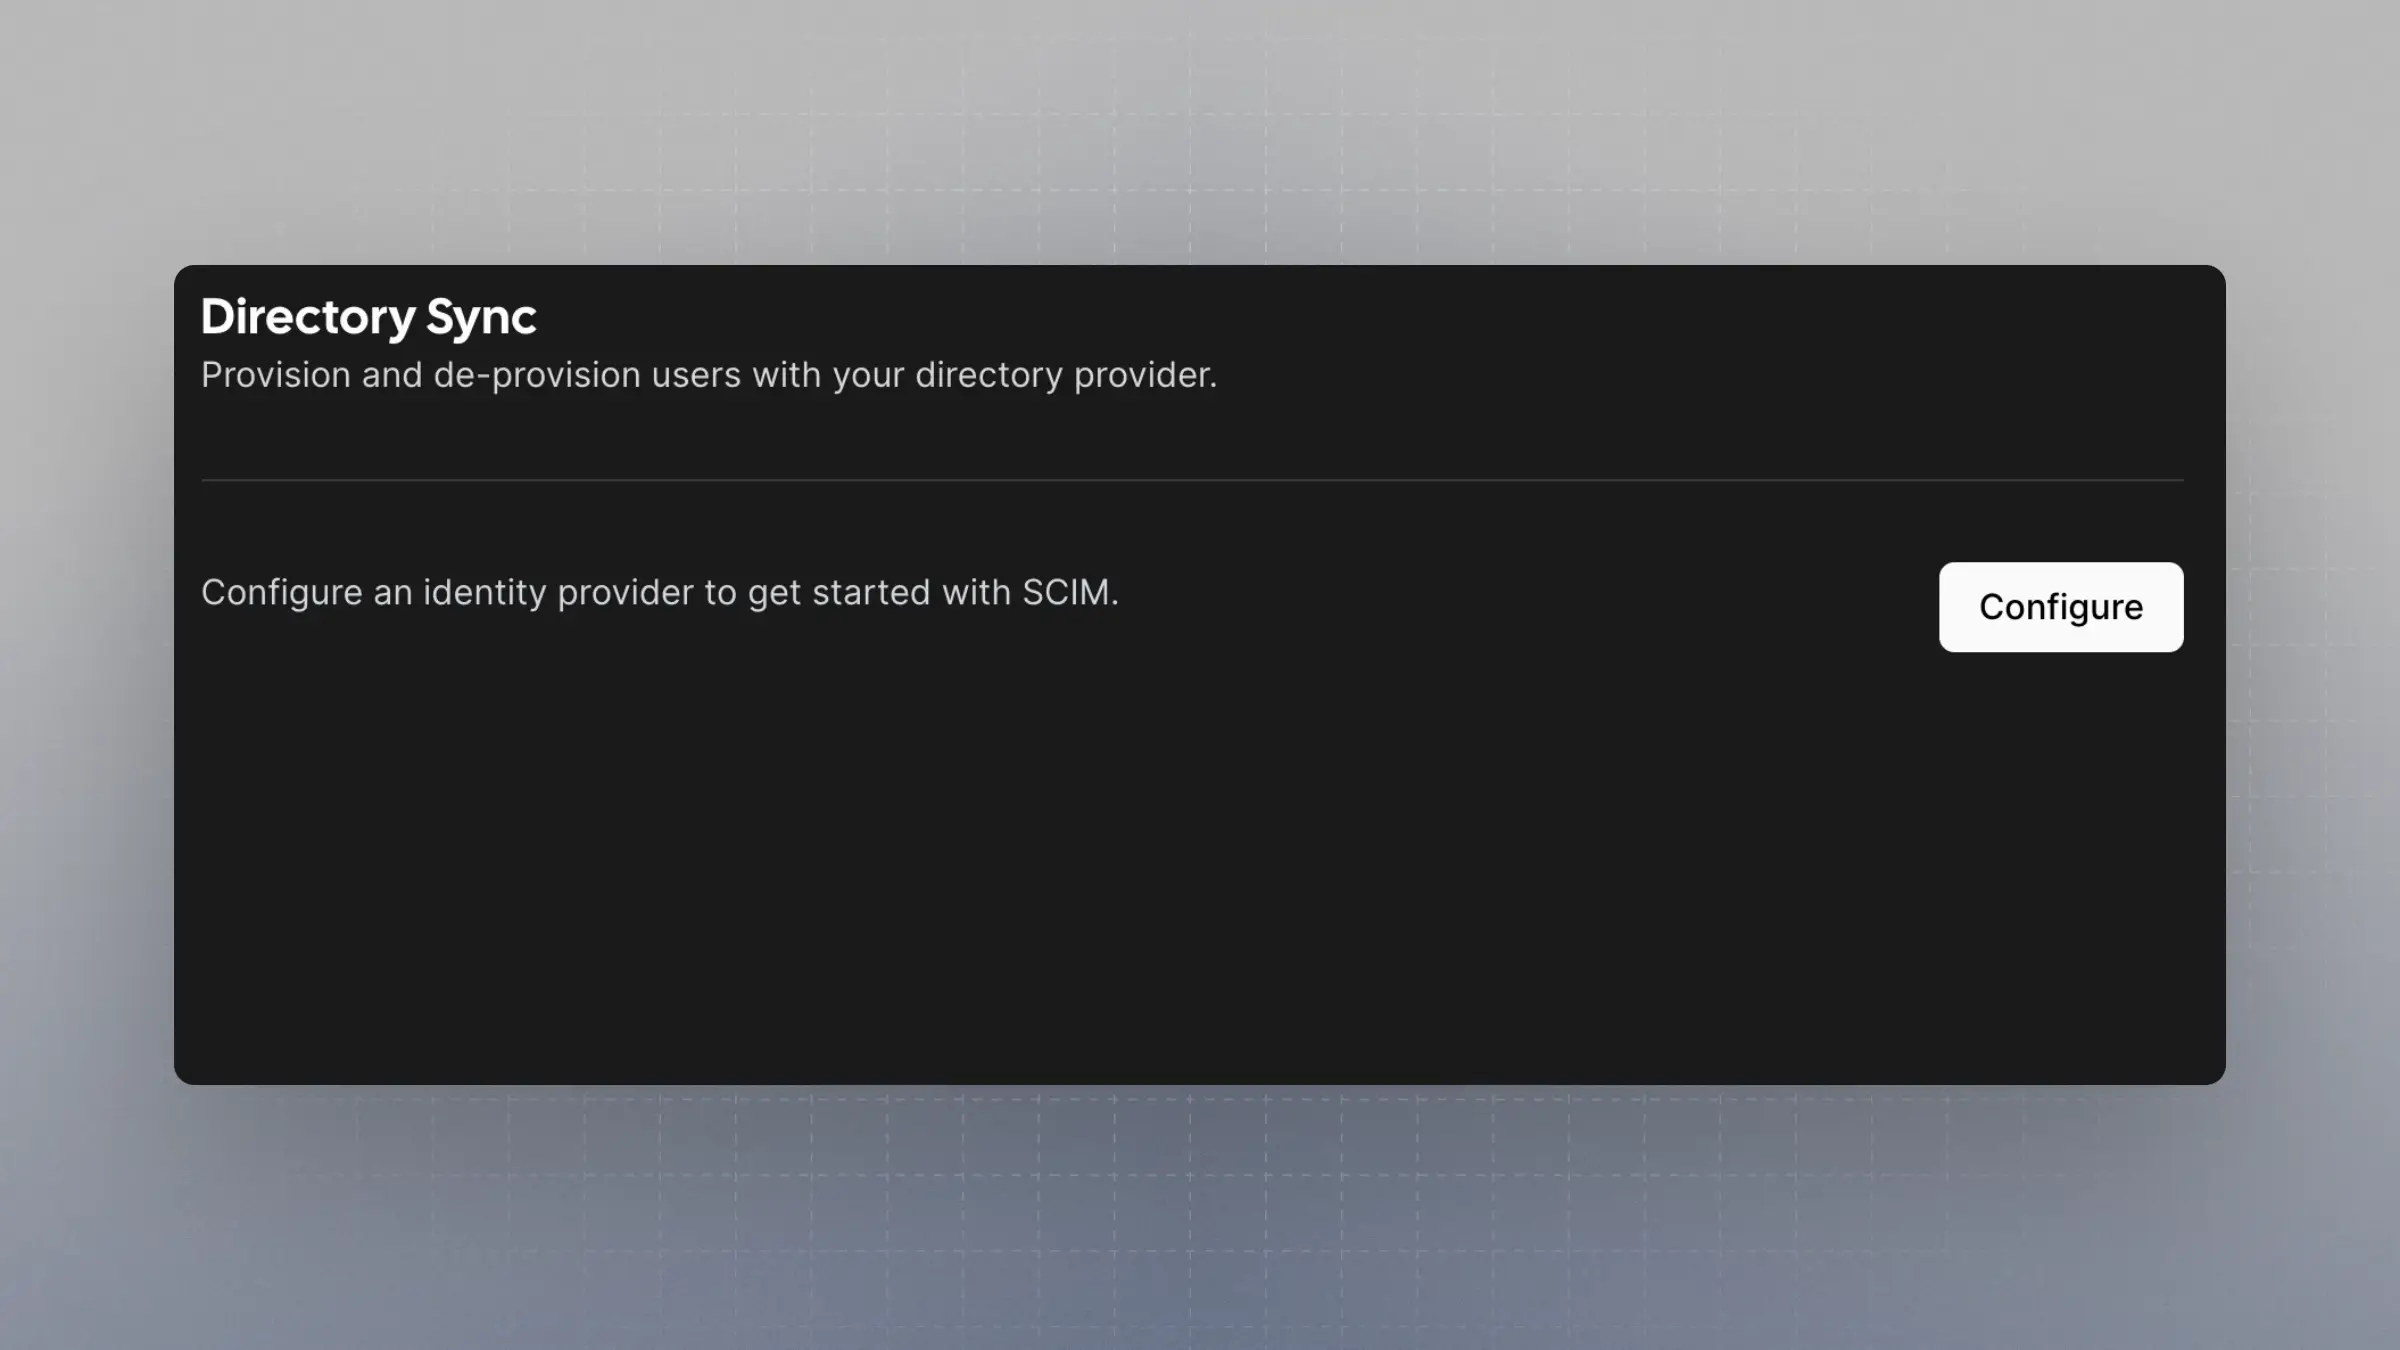
- Next go to your instance of Cal.com and navigate to
{BASE_URL}/settings/organization/dsyncand click configure.
- In the "Configure Directory Sync" from choose a directory sync name and choose "Okta SCIM v2.0" as the "Directory Provider"

- Take note of the "SCIM Base URL" and "SCIM Bearer Token"

- Okta go to your application. Navigate to the "Provisioning" tab and click "Integration" under "Settings".

- Under "SCIM connector base URL" enter the "SCIM Base URL" from Cal.com
- Under "Unique identifier field for users" enter "email"
- Under "Supported provisioning actions" enable:
- "Import New Users and Profile Updates"
- "Push New Users"
- "Push Profile Updates"
- "Push Groups"
- Under "Authentication Mode" choose "HTTP Header"
- Under "Authentication" enter the "SCIM Bearer Token" from Cal.com
- When you hit save it will make a test call to the "SCIM Base URL"
- When you hit save navigate to "To App" settings, still under the "Provisioning" tab
- Under "Provisioning to App" click "Edit" and enable:
- "Create User"
- "Update User Attributes"
- "Deactivate User"
- Under "{Your application name} Attribute Mapping", remove all fields except for:
- "username"
- "givenName"
- "familyName"
- "email"
- "displayName"
- Set each of these of these properties to "Map from Okta Profile" and the related field. Under "Apply On" select "Create and Update"

- You can now assign users and groups to the app.
Mapping Okta Groups to Cal.com Teams
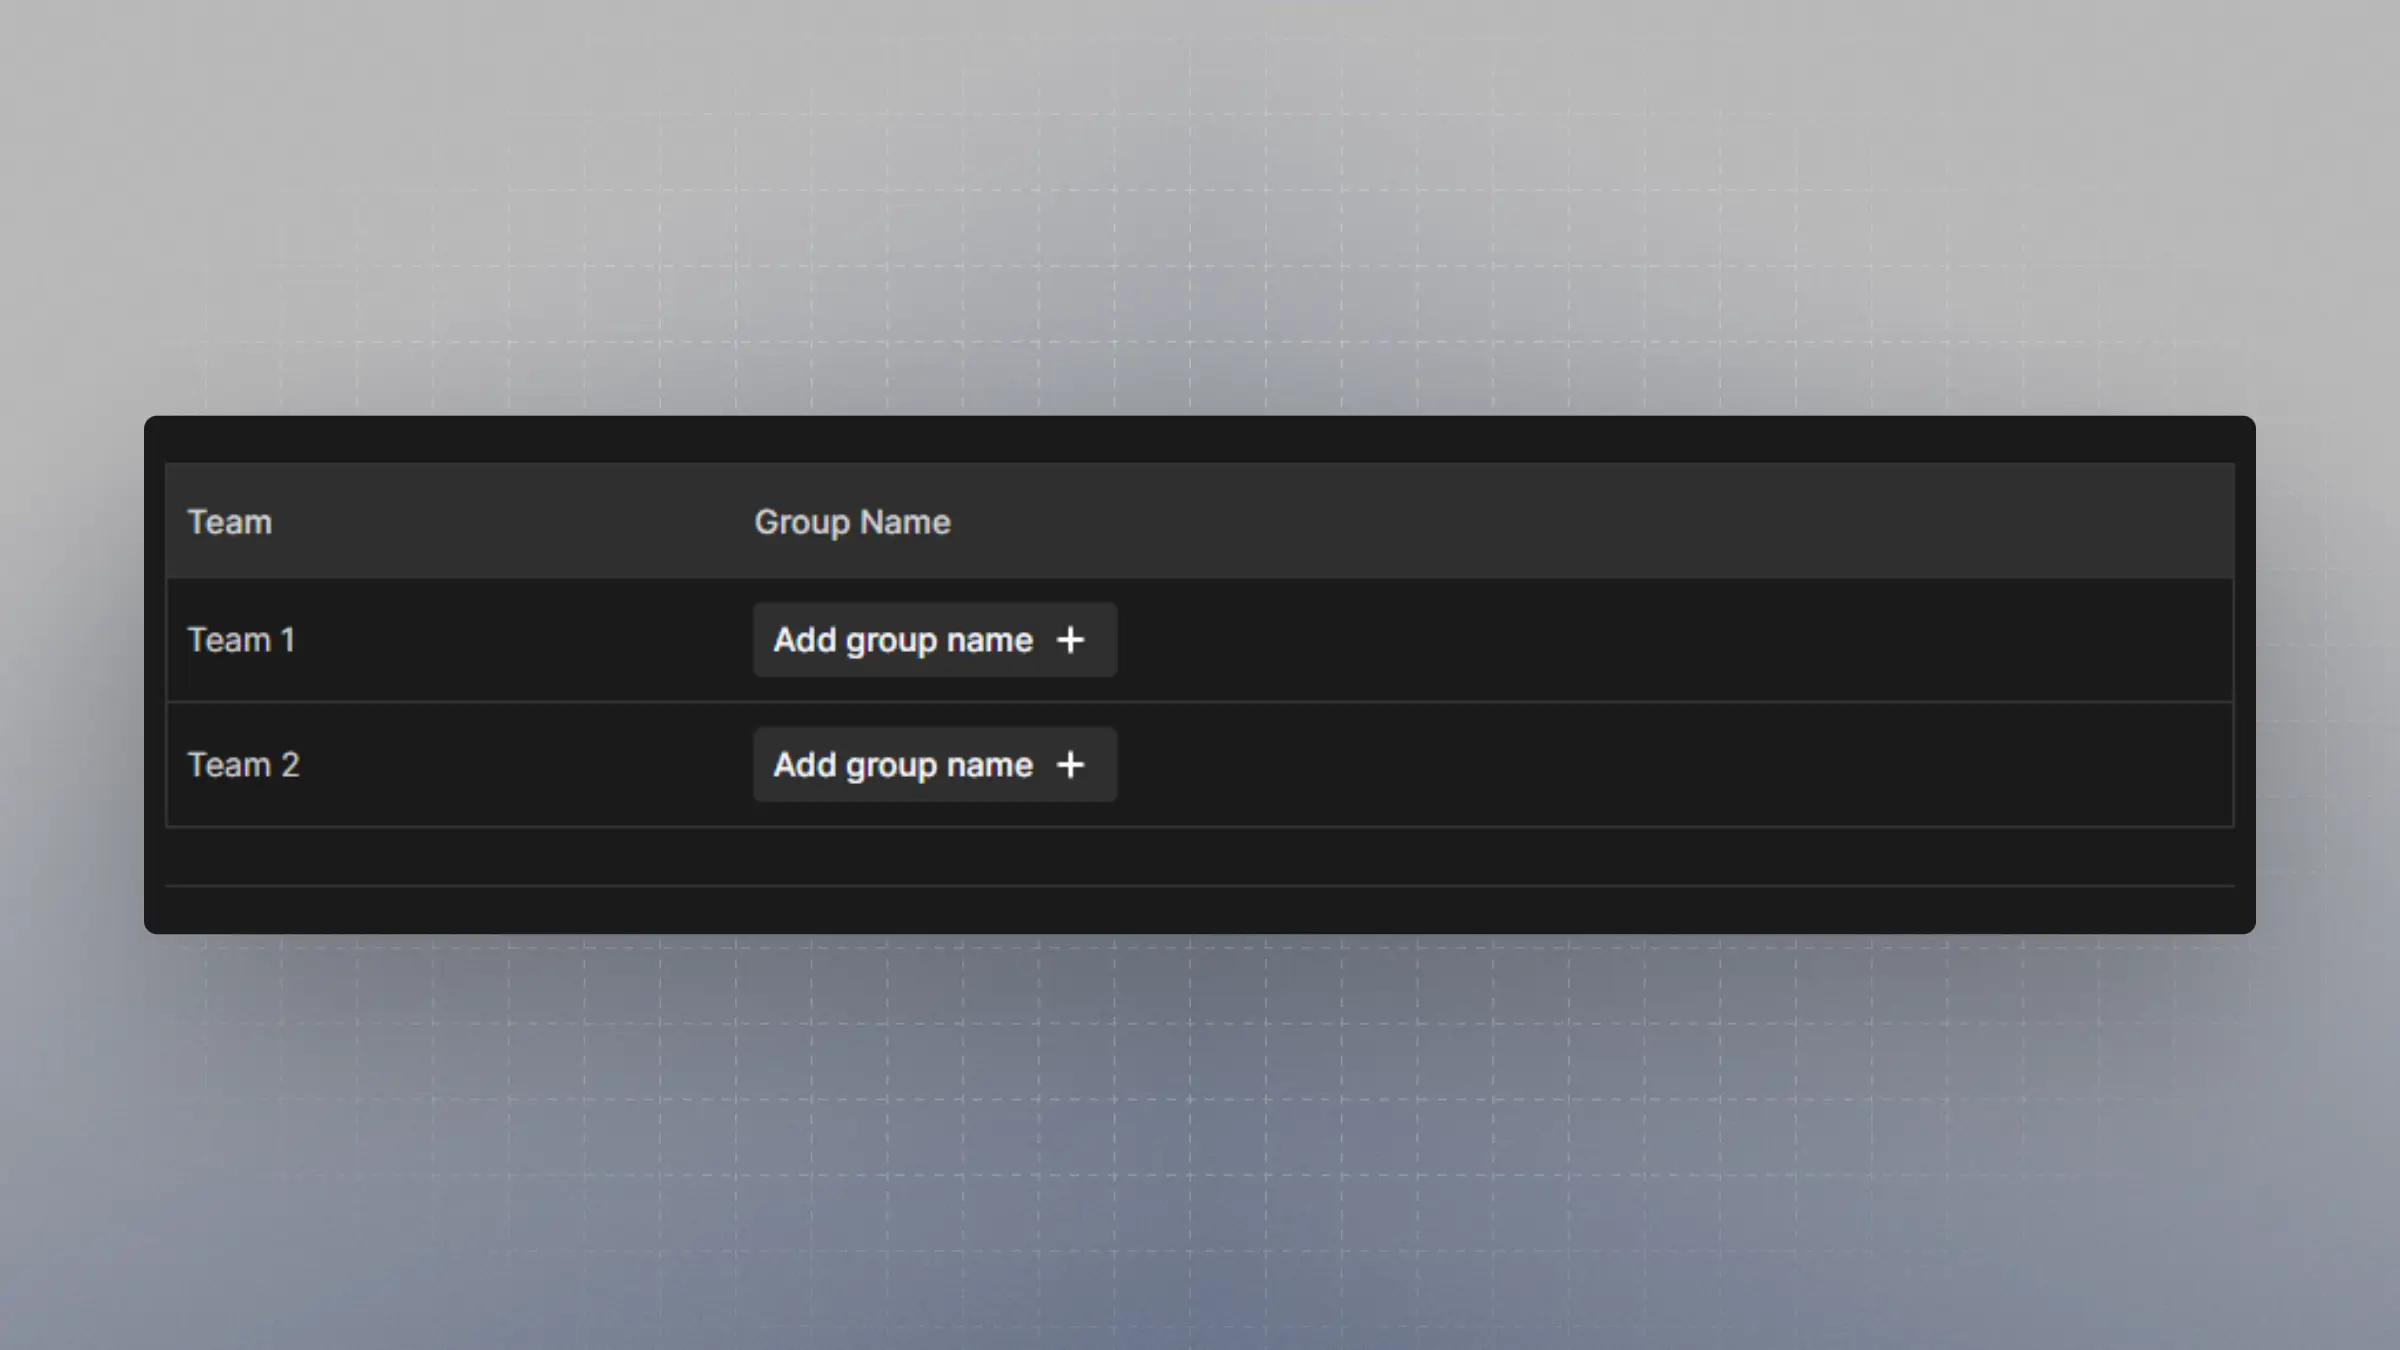
When provisioning groups to your organization, Okta groups can be mapped to teams within your organization and users will be auto assigned to these teams.
On {BASE_URL}/settings/organization/dsync there is a table with the teams under your organization. Click on "Add group name" to map the Okta group to the team. Note: The group name must be spelt exactly as it is shown on Okta.. When you push the group to your organization then those users will automatically be added to the team.
